Tired of remote desktop-ception? Try this quick trick!
SSH tunnel simplified. How to setup SSH tunnel or proxying on Mac and PC.
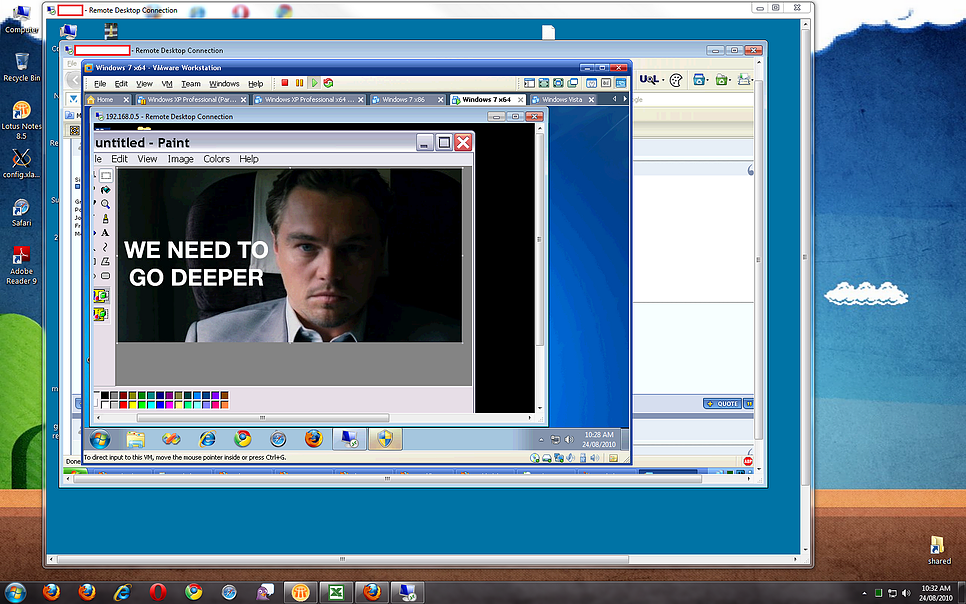
A friend of mine was sharing about his experience of using remote desktop to connect to a server, then connecting to yet another server with remote desktop to access the information he needs. This is a silly way of connecting to the remote server and can be vulnerable to exploitation.
SSH Tunneling Applications and Benefits
There are many applications and benefits of ssh tunneling such as:
- Bypassing pesky firewalls for common blocked applications.
- Connecting to the Web interface of a network device permitted only from a particular server or network.
- Ensuring that your emails or credit card information is not stolen while using a public wifi (although you should never input credit card information on a public wifi!).
- No more confusing Remote Desktop sessions.
- Encryption and secure traffic.
- Reduced connection latency.
- Lighten up on the bandwidth used on the network.
- And the list goes on!
SSH tunneling is a simple and easy way to ensure that your connections across this connection is encrypted and secure.
For Network Engineers, all the devices that do not have CLI/SSH access and only allow browser access, can use this method too.
Note: This may require you to contact your IT support to make some changes on the server.
Why do I even remote desktop-ception?
Depending on the network setup and design, it can be possible that only some servers on a particular network are permitted to access other servers on a different network to limit access for security reasons. However, this can create double remote desktop sessions, consume more resources than necessary on the network, and is vulnerable to security breaches. Here’s a quick guide to avoid this double remote sessions and will also ensure that the connection to the destination server is encrypted.
Let’s get to the config:
Pre-requisites:
Allow SSH connectivity to your primary server
Install an SSH client on your PC such as putty (Mac/Linux users don’t need to worry about this)
Mac/Linux:
Use this command
ssh -f user@hop1.server.com -L 8000:destination-server:3389 -N
- Input your password to hop1-server
- Simply open a remote desktop session to localhost:8000 and you now can get access to the remote server without double Remote Desktop sessions!
Explanation of SSH command:
- -f = tells SSH to run in the background prior to executing the comman
- user@hop1-server.com = your username and the first server you Remote Desktop to.
- -L 8000:destination-server:3389 = -L local-port:
destination-server:remote-port- local-port is the port you would connect to using Remote Desktop.
- Destination-server is the second server that you remote desktop to once you’ve already connected to the first server.
- 3389 is the Remote Desktop port
- -N = no execution of commands on the remote system
This essentially forwards traffic going to your computer’s local port 8000 to port 3389 on destination-server.com
Windows:
- Install your favourite SSH client (putty will be used for this guide)
- Type in
hop1.server.comwhich is the first server that you Remote Desktop to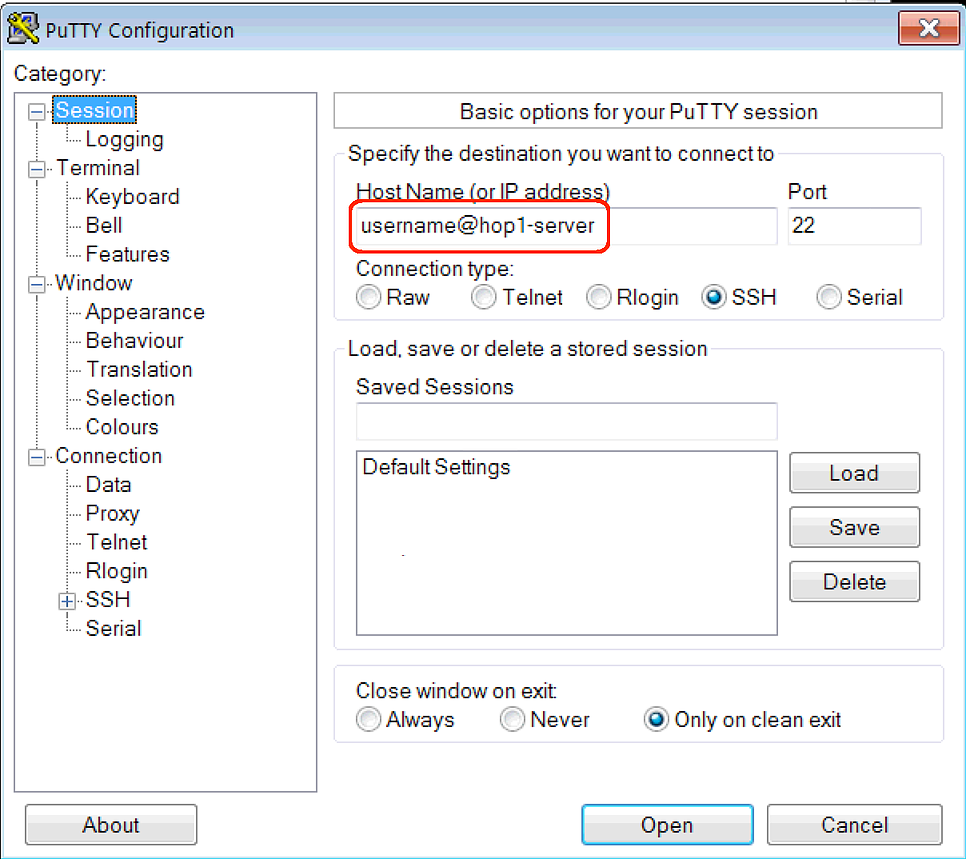
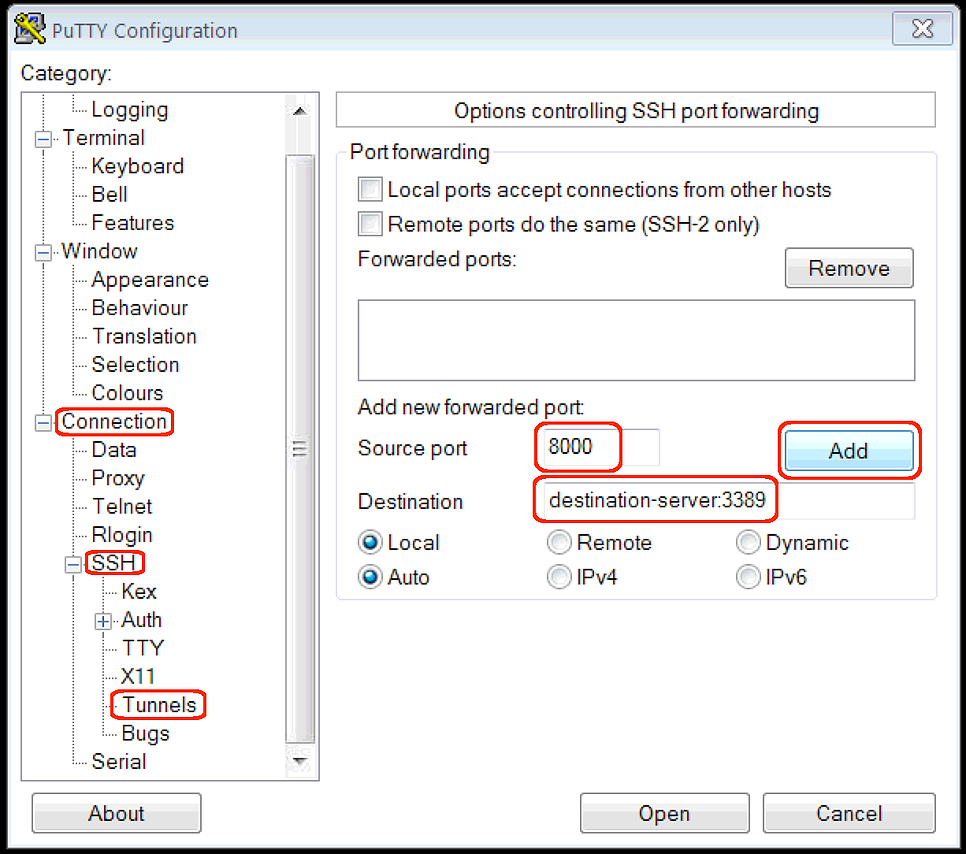
- In the Category section, go to Connections -> SSH -> Tunnels
- Configure the settings as you see below
- Source port: 8000
- Destination: destination-server:3389
- Click Add
- Go back to the Sessions and under Save Session type in “Destination-server RDP” and click Save
- Click Open and input your password for hop1.server
- Now try to open a Remote Desktop Connection to
localhost:8000and you’ll be on your encrypted way to access the Destination-Server with just one Remote Desktop Session.
Hopefully this helps you to understand more about SSH tunneling and reduce that confusing Remote Desktop-ception.
If you find any errors or have suggestions to improve this article, please feel free to contact Jon at blog@tekrx.ca
All applications mentioned in this article are not endorsed by TekRx Solutions and are to be used at your own discretion. TekRx Solutions does not take responsibility for any liability in the use of any application mentioned in the article.